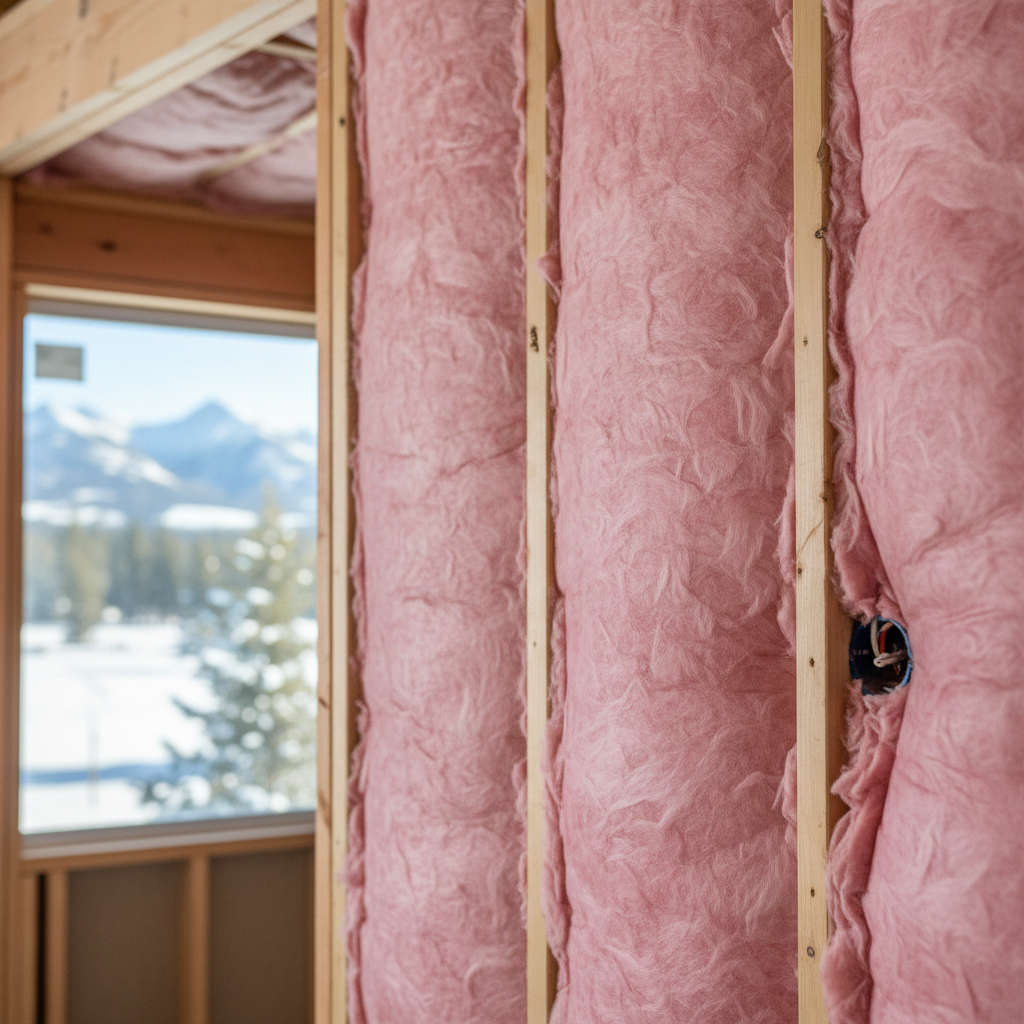
So, you're thinking about insulating part of your home yourself. Maybe it's an unfinished basement wall or a new addition. That's awesome! Taking on a DIY project can definitely save you some money, and batt insulation seems pretty simple, doesn't it? Well, it *can* be, but you really need to know a few things before you start cutting and stuffing. I've seen a ton of insulation jobs over the years – some great, some… not so great – and I want to give you the real lowdown on what you can realistically tackle yourself versus when it just makes more sense to bring in a pro.
Before You Buy: The Prep Work
First off, batt insulation isn't a "one-size-fits-all" kind of thing. You'll find different materials out there: fiberglass, mineral wool, natural fibers, and they all have different R-values. That R-value is super important; it tells you how well the insulation stops heat from moving through it. Here in Bozeman, with our cold winters and often blustery conditions, you really want to make sure you’re getting enough R-value for wherever you're putting it. For outside walls, you're usually looking at R-19 to R-21 if you have 2x6 framing. For attics, we're often talking R-49 or even R-60, especially if you live up in the Hyalite area where it gets seriously chilly.
Before you even think about buying anything, measure your stud bays or the space between your joists. Most batt insulation comes in widths made for 16-inch or 24-inch on-center framing. If your framing is a bit off, or if you have a lot of weirdly shaped cavities, that's your first clue this project might be more trouble than it's worth. You'll end up doing a lot of custom cutting, which can easily lead to gaps if you're not super careful. Gaps are insulation's absolute worst enemy, you know, because they let air just bypass the insulation, making it practically useless.
Also, consider what's on the other side of the wall or above the ceiling you're insulating. Is it an exterior wall? Then you'll need a vapor barrier on the side that's warm in winter (which is the interior side here in Bozeman). This stops moisture from sneaking into your wall cavities and causing mold or rot. Most fiberglass batts come with a paper or foil facing that acts as a vapor retarder, but you absolutely have to install it correctly – facing the conditioned space – and seal it up tight at the seams and edges.
During Installation: Getting It Right
Okay, so you've got your batts, your utility knife, a straight edge, and hopefully some gloves and a dust mask – those last two are non-negotiable, by the way. Fiberglass fibers are irritating, and you definitely don't want to breathe them in. Safety glasses are a smart move too.
The biggest mistake I see DIYers make is squishing the insulation. Batts work by trapping air, and if you cram them into a space that’s too small, you actually reduce their R-value. So, don't try to force an R-19 batt into a 2x4 wall cavity that's only meant for R-13. It won't perform like R-19; in fact, it'll perform worse than a properly installed R-13.
Cut your batts just a little wider than the cavity they're going into – maybe half an inch to an inch wider. This helps them friction-fit snugly without leaving gaps. When you're cutting, use a sharp utility knife and a straight edge against a piece of plywood or scrap drywall. Don't try to tear it; you'll just get uneven edges and more gaps. Make sure the batts fill the entire cavity, from top to bottom and side to side, even around electrical boxes and plumbing pipes. Don't leave air pockets around these obstructions; cut the insulation to fit around them perfectly.
If you're putting in faced batts, staple the flanges to the face of the studs or joists. Don't pull them too tight, or you'll compress the insulation. Just a snug fit. And for the love of all that keeps you warm, seal those seams with the right kind of tape. If you're tackling an attic, make sure you don't block any soffit vents. You need good airflow for a healthy attic, especially with our temperature swings.
After It's Done: What to Look For
Once you've got all the batts in, take a good, hard look at your work. Do you see any visible gaps? Any spots where the insulation looks squished? If you can see light coming through from the other side (if it's an exterior wall before the drywall goes up), then you've got a problem. Go back and fix it. Even a tiny gap can really cut down on how well your insulation works overall.
Now, when should you call a pro like us at Premium Insulation Inc.? If you're dealing with a whole house, a complicated addition with lots of weird angles, or if you're insulating an attic that's tough to get into or has a ton of existing wiring and ductwork, it's usually worth it to hire someone. We've got the tools, the experience, and the know-how to do it efficiently and get it right the first time. We know how to handle those tricky spots, make sure ventilation is proper, and get you the best R-value for your money without creating future moisture problems.
Also, if you're dealing with old, possibly dangerous insulation (like vermiculite, which might contain asbestos), absolutely call a professional. Seriously, don't mess with that yourself. Your health is worth more than any savings.
For a small, straightforward project, say insulating a simple interior wall or a small section of an unfinished basement, DIY batt insulation can be a fantastic way to boost comfort and save energy. Just make sure you do your homework, take your time, and pay close attention to those details. It all boils down to a tight, uncompressed fit. Get that right, and you'll definitely feel the difference.